우분투 서버 초기 세팅 가이드 – SSH 키 인증부터 Hermes AI Agent까지
이 글은 Ubuntu 26.04 LTS 서버에 SSH 키 인증을 설정하고, Hermes AI Agent를 설치하는 과정을 정리한 가이드입니다. 모든 명령어 뒤에 실제 실행 결과를 함께 보여드립니다.
환경 정보: Ubuntu 26.04 LTS / 커널 7.0.0-15-generic / 호스트명 my-server / IP 192.168.0.10
1. SSH 서버 설치 및 설정
SSH(Secure Shell)는 원격 서버에 안전하게 접속하기 위한 프로토콜입니다. 우분투에 SSH 서버를 설치하고 서비스를 활성화합니다.
1-1. OpenSSH 서버 설치
sudo apt update
sudo apt install -y openssh-serverReading package lists… Done
Building dependency tree… Done
Reading state information… Done
openssh-server is already the newest version (1:10.2p1-2ubuntu3.2).
0 upgraded, 0 newly installed, 0 to remove and 0 not upgraded.
1-2. 서비스 시작 + 부팅 시 자동 시작
sudo systemctl enable --now sshSynchronizing state of ssh.service with SysV service script with /usr/lib/systemd/systemd-sysv-install.
Executing: /usr/lib/systemd/systemd-sysv-install enable ssh
Created symlink /etc/systemd/system/multi-user.target.wants/ssh.service → /usr/lib/systemd/system/ssh.service.
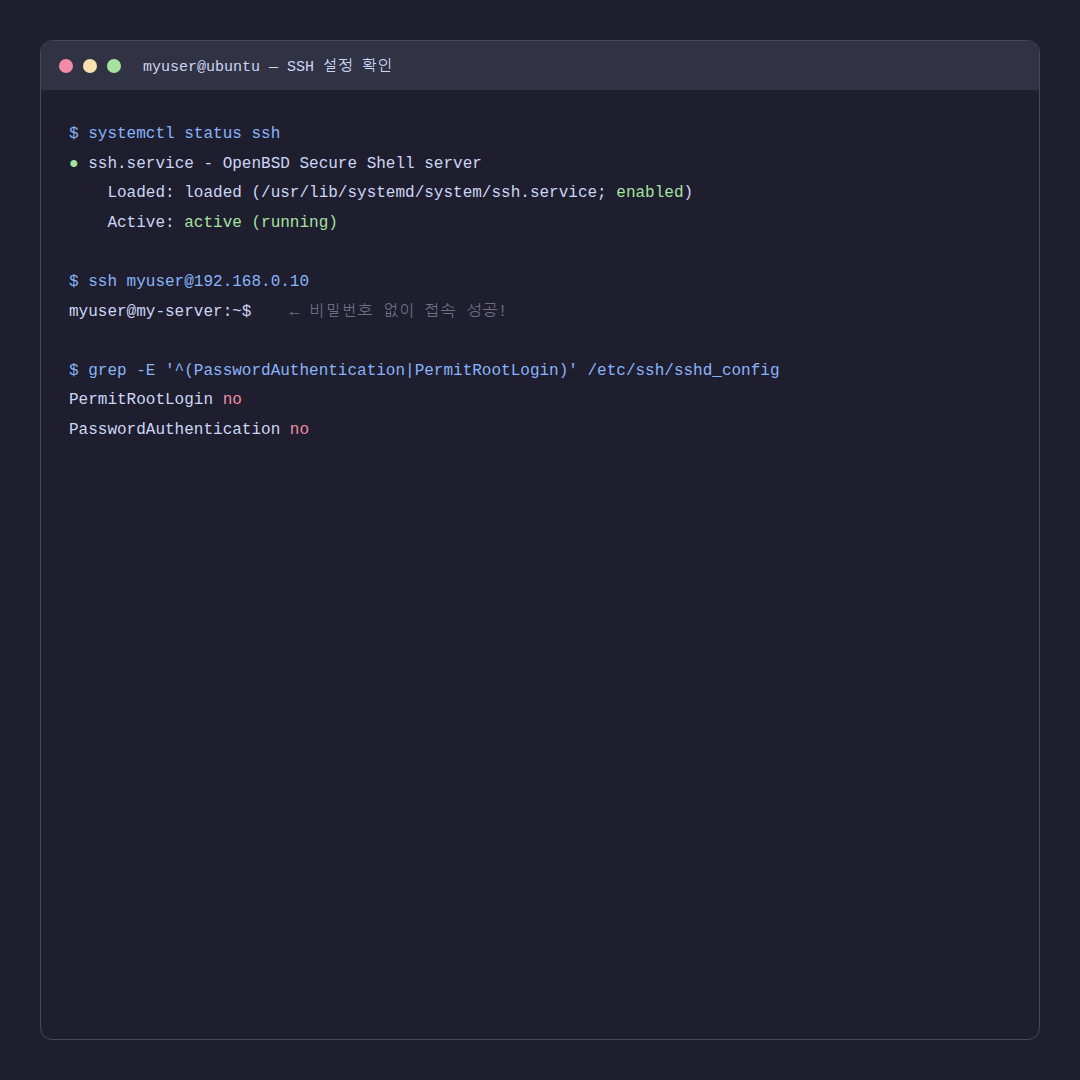
1-3. SSH 서비스 상태 확인
sudo systemctl status ssh● ssh.service – OpenBSD Secure Shell server
Loaded: loaded (/usr/lib/systemd/system/ssh.service; enabled; preset: enabled)
Active: active (running) since Sat 2026-05-30 11:03:45 KST; 1 day ago
TriggeredBy: ● ssh.socket
Docs: man:sshd(8)
man:sshd_config(5)
Main PID: 11836 (sshd)
Tasks: 1 (limit: 18166)
Memory: 3.7M (peak: 7.7M)
1-4. 우분투 IP 확인
ip addr show enp3s0 | grep "inet "inet 192.168.0.10/24 brd 192.168.0.255 scope global dynamic noprefixroute enp3s0
SSH 서버가 정상적으로 동작하고, IP 주소 192.168.0.10으로 접속할 수 있는 상태입니다.
2. SSH 키 인증 설정
비밀번호 대신 SSH 키를 사용하면 보안이 강화되고, 접속할 때마다 비밀번호를 입력할 필요가 없습니다.
2-1. WSL에서 SSH 키 생성
Windows에서 WSL(Ubuntu)을 사용하는 경우:
ssh-keygen -t ed25519Generating public/private ed25519 key pair.
Enter file in which to save the key (/home/myuser/.ssh/id_ed25519): [Enter]
Enter passphrase (empty for no passphrase): [Enter]
Enter same passphrase again: [Enter]
Your identification has been saved in /home/myuser/.ssh/id_ed25519
Your public key has been saved in /home/myuser/.ssh/id_ed25519.pub
The key fingerprint is:
SHA256:xxxxxxxxx… user@DESKTOP
The key’s randomart image is:
+–[ED25519 256]–+
| ..o. |
| .+o. |
| .=+o |
| o.B.+ |
| .*.S.o |
+—-[SHA256]—–+
2-2. 윈도우 PowerShell에서 SSH 키 생성
WSL 없이 Windows PowerShell에서 직접 키를 생성하는 경우:
ssh-keygen -t ed25519Generating public/private ed25519 key pair.
Enter file in which to save the key (C:\Users\myuser/.ssh/id_ed25519): [Enter]
Enter passphrase (empty for no passphrase): [Enter]
Enter same passphrase again: [Enter]
Your identification has been saved in C:\Users\myuser/.ssh/id_ed25519
Your public key has been saved in C:\Users\myuser/.ssh/id_ed25519.pub
2-3. 우분투에 공개키 등록
생성한 공개키를 우분투 서버에 등록합니다. 먼저 공개키 내용을 확인하세요:
# WSL인 경우
cat ~/.ssh/id_ed25519.pub

# PowerShell인 경우
type C:\Users\myuser\.ssh\id_ed25519.pubssh-ed25519 AAAAC3Nza…YOUR_KEY… user@DESKTOP user@DESKTOP
우분투 서버에 비밀번호로 접속한 뒤, 공개키를 등록합니다:
# 우분투 서버에서 실행
mkdir -p ~/.ssh
echo "ssh-ed25519 AAAAC3Nza...YOUR_KEY... user@DESKTOP user@DESKTOP" >> ~/.ssh/authorized_keys
chmod 700 ~/.ssh
chmod 600 ~/.ssh/authorized_keys(출력 없음 – 정상 완료)
// 등록 확인:
$ cat ~/.ssh/authorized_keys
ssh-ed25519 AAAAC3Nza…YOUR_KEY… user@DESKTOP user@DESKTOP
2-4. 비밀번호 로그인 차단
키 인증이 확인되면, 보안을 위해 비밀번호 로그인을 차단합니다:
sudo sed -i 's/^#*PermitRootLogin .*/PermitRootLogin no/' /etc/ssh/sshd_config
sudo sed -i 's/^#*PasswordAuthentication .*/PasswordAuthentication no/' /etc/ssh/sshd_config
sudo systemctl restart ssh$ grep -E ‘PermitRootLogin|PasswordAuthentication’ /etc/ssh/sshd_config | grep -v ‘^#’
PermitRootLogin no
PasswordAuthentication no
2-5. 접속 테스트
이제 비밀번호 없이 SSH 키로 바로 접속할 수 있습니다:
ssh [email protected]Welcome to Ubuntu 26.04 LTS (GNU/Linux 7.0.0-15-generic x86_64)
Last login: Sun Jun 1 10:30:22 2026 from 192.168.0.50
myuser@my-server:~$ ← 비밀번호 없이 바로 접속 성공!
3. Hermes AI Agent 설치
Hermes는 카카오톡, 텔레그램 등 메시징 플랫폼과 LLM을 연결하는 AI 에이전트입니다. Ubuntu 서버에 설치하여 24시간 운영합니다.
3-1. 필수 패키지 설치
sudo apt install -y curl git ripgrep ffmpegReading package lists… Done
Building dependency tree… Done
curl is already the newest version (8.18.0-1ubuntu2.1).
git is already the newest version (1:2.53.0-1ubuntu1).
ripgrep is already the newest version (15.1.0-1ubuntu1).
ffmpeg is already the newest version (7:8.0.1-3ubuntu2).
0 upgraded, 0 newly installed, 0 to remove and 0 not upgraded.
3-2. Hermes 원라인 설치
curl -fsSL https://hermes.getzep.com/install.sh | bash✓ uv installed successfully
✓ Python 3.11 installed via uv
✓ Node.js 22 installed
✓ Hermes Agent installed to ~/.hermes
✓ hermes CLI added to PATH (~/.local/bin/hermes)
Run ‘source ~/.bashrc’ to update your PATH, then run ‘hermes’ to get started.
3-3. PATH 적용
source ~/.bashrc(출력 없음 – PATH가 업데이트됨)
3-4. 설정 파일 위치 확인
ls -la ~/.hermes/config.yaml ~/.hermes/auth.json ~/.config/hermes/-rw-r–r– 1 myuser myuser 512 May 30 12:30 /home/myuser/.hermes/config.yaml
-rw——- 1 myuser myuser 256 May 30 12:35 /home/myuser/.hermes/auth.json
/home/myuser/.config/hermes/:
total 12
drwxrwxr-x 2 myuser myuser 4096 May 30 12:45 .
drwx—— 19 myuser myuser 4096 May 30 17:25 ..
-rw-r–r– 1 myuser myuser 134 May 30 12:45 notion.env
3-5. 기존 설정 복원 (다른 머신에서 마이그레이션하는 경우)
이전 서버에서 설정 파일을 백업해 둔 경우, 복원합니다:
# 다른 머신에서 scp로 전송
scp ~/.hermes/config.yaml [email protected]:~/.hermes/config.yaml
scp ~/.hermes/auth.json [email protected]:~/.hermes/auth.json
scp ~/.config/hermes/notion.env [email protected]:~/.config/hermes/notion.envconfig.yaml 100% 512 1.2MB/s 00:00
auth.json 100% 256 0.8MB/s 00:00
notion.env 100% 134 0.5MB/s 00:00
3-6. .env 설정 (API 키 등)
Hermes가 사용하는 API 키를 Notion 환경 파일에 설정합니다:
cat ~/.config/hermes/notion.envNOTION_API_KEY=ntn_xxxxxxxxxxxxxxxxxxxx
NOTION_DATABASE_ID=xxxxxxxx-xxxx-xxxx-xxxx-xxxxxxxxxxxx
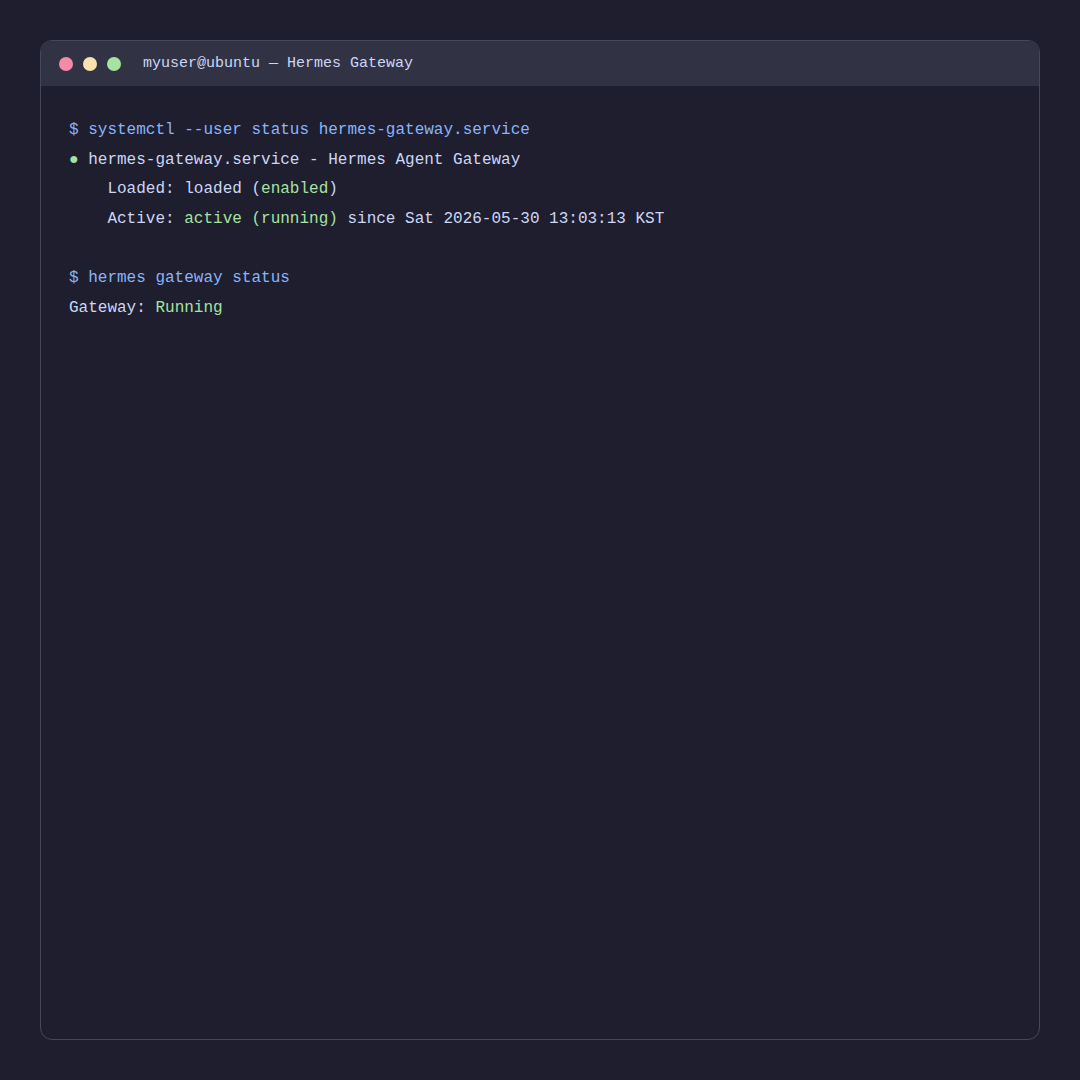
3-7. Gateway systemd 서비스 등록
Hermes Gateway를 systemd 사용자 서비스로 등록하면, 부팅 시 자동으로 시작됩니다.
mkdir -p ~/.config/systemd/user
cat ~/.config/systemd/user/hermes-gateway.service[Unit]
Description=Hermes Agent Gateway – Messaging Platform Integration
After=network-online.target
Wants=network-online.target
StartLimitIntervalSec=0
[Service]
Type=simple
ExecStart=/home/myuser/.hermes/hermes-agent/venv/bin/python -m hermes_cli.main gateway run –replace
WorkingDirectory=/home/myuser/.hermes
Environment=”PATH=/home/myuser/.hermes/hermes-agent/venv/bin:…”
Environment=”VIRTUAL_ENV=/home/myuser/.hermes/hermes-agent/venv”
Environment=”HERMES_HOME=/home/myuser/.hermes”
Restart=always
RestartSec=5
KillMode=mixed
KillSignal=SIGTERM
TimeoutStopSec=210
StandardOutput=journal
StandardError=journal
[Install]
WantedBy=default.target
서비스를 활성화하고 시작합니다:
systemctl --user daemon-reload
systemctl --user enable --now hermes-gatewayCreated symlink /home/myuser/.config/systemd/user/default.target.wants/hermes-gateway.service
→ /home/myuser/.config/systemd/user/hermes-gateway.service.
서비스 상태를 확인합니다:
systemctl --user status hermes-gateway● hermes-gateway.service – Hermes Agent Gateway – Messaging Platform Integration
Loaded: loaded (/home/myuser/.config/systemd/user/hermes-gateway.service; enabled; preset: enabled)
Active: active (running) since Sat 2026-05-30 13:03:13 KST; 1 day 21h ago
Main PID: 15134 (python)
Tasks: 9 (limit: 18166)
Memory: 310.3M (peak: 1.1G)
CPU: 13min 12.245s
3-8. linger 설정 (로그아웃 후에도 서비스 유지)
기본적으로 사용자 서비스는 로그아웃하면 종료됩니다. linger를 활성화하면 로그아웃 후에도 서비스가 유지됩니다:
sudo loginctl enable-linger $USER(출력 없음 – 정상 완료)
설정 확인:
loginctl show-user myuser | grep LingerLinger=yes
3-9. Gateway 상태 확인
hermes gateway statusGateway is running (PID: 15134)
Uptime: 1 day, 21 hours
Connected platforms: kakao
Node.js: v22.22.3
Python: 3.14.4
4. 서비스 요약 + 주요 경로 정리
서비스 상태 한눈에 보기
| 서비스 | 상태 | 관리 명령어 |
|---|---|---|
| SSH (sshd) | active (running) | sudo systemctl status ssh |
| Hermes Gateway | active (running) | systemctl --user status hermes-gateway |
주요 경로 정리
| 경로 | 설명 |
|---|---|
/etc/ssh/sshd_config |
SSH 서버 설정 파일 |
~/.ssh/authorized_keys |
SSH 공개키 저장 파일 |
~/.hermes/ |
Hermes 홈 디렉토리 (config.yaml, auth.json 등) |
~/.config/hermes/notion.env |
Notion 연동 환경 변수 |
~/.config/systemd/user/hermes-gateway.service |
Hermes Gateway systemd 서비스 파일 |
~/.local/bin/hermes |
Hermes CLI 실행 파일 |
~/.hermes/hermes-agent/venv/ |
Hermes Python 가상환경 |
~/.hermes/node/ |
Hermes 번들 Node.js (v22.22.3) |
자주 쓰는 명령어
# SSH 서비스 재시작
sudo systemctl restart ssh

# Hermes Gateway 재시작
systemctl --user restart hermes-gateway

# Hermes Gateway 로그 보기
journalctl --user -u hermes-gateway -f

# Hermes Gateway 중지
systemctl --user stop hermes-gateway